Printing with Wood and Metal on an Ultimaker 2
I’ve been printing lots of robots today on my Ultimaker 2, trying out different materials and what settings to use to print with them. I’ve used the special filaments from Colorfabb, who had the genius idea to mix normal PLA filaments with metal and wood to allow normal printers to print with different materials. And because pictures say more than 1000 words, or so I’ve heard, here is the result:
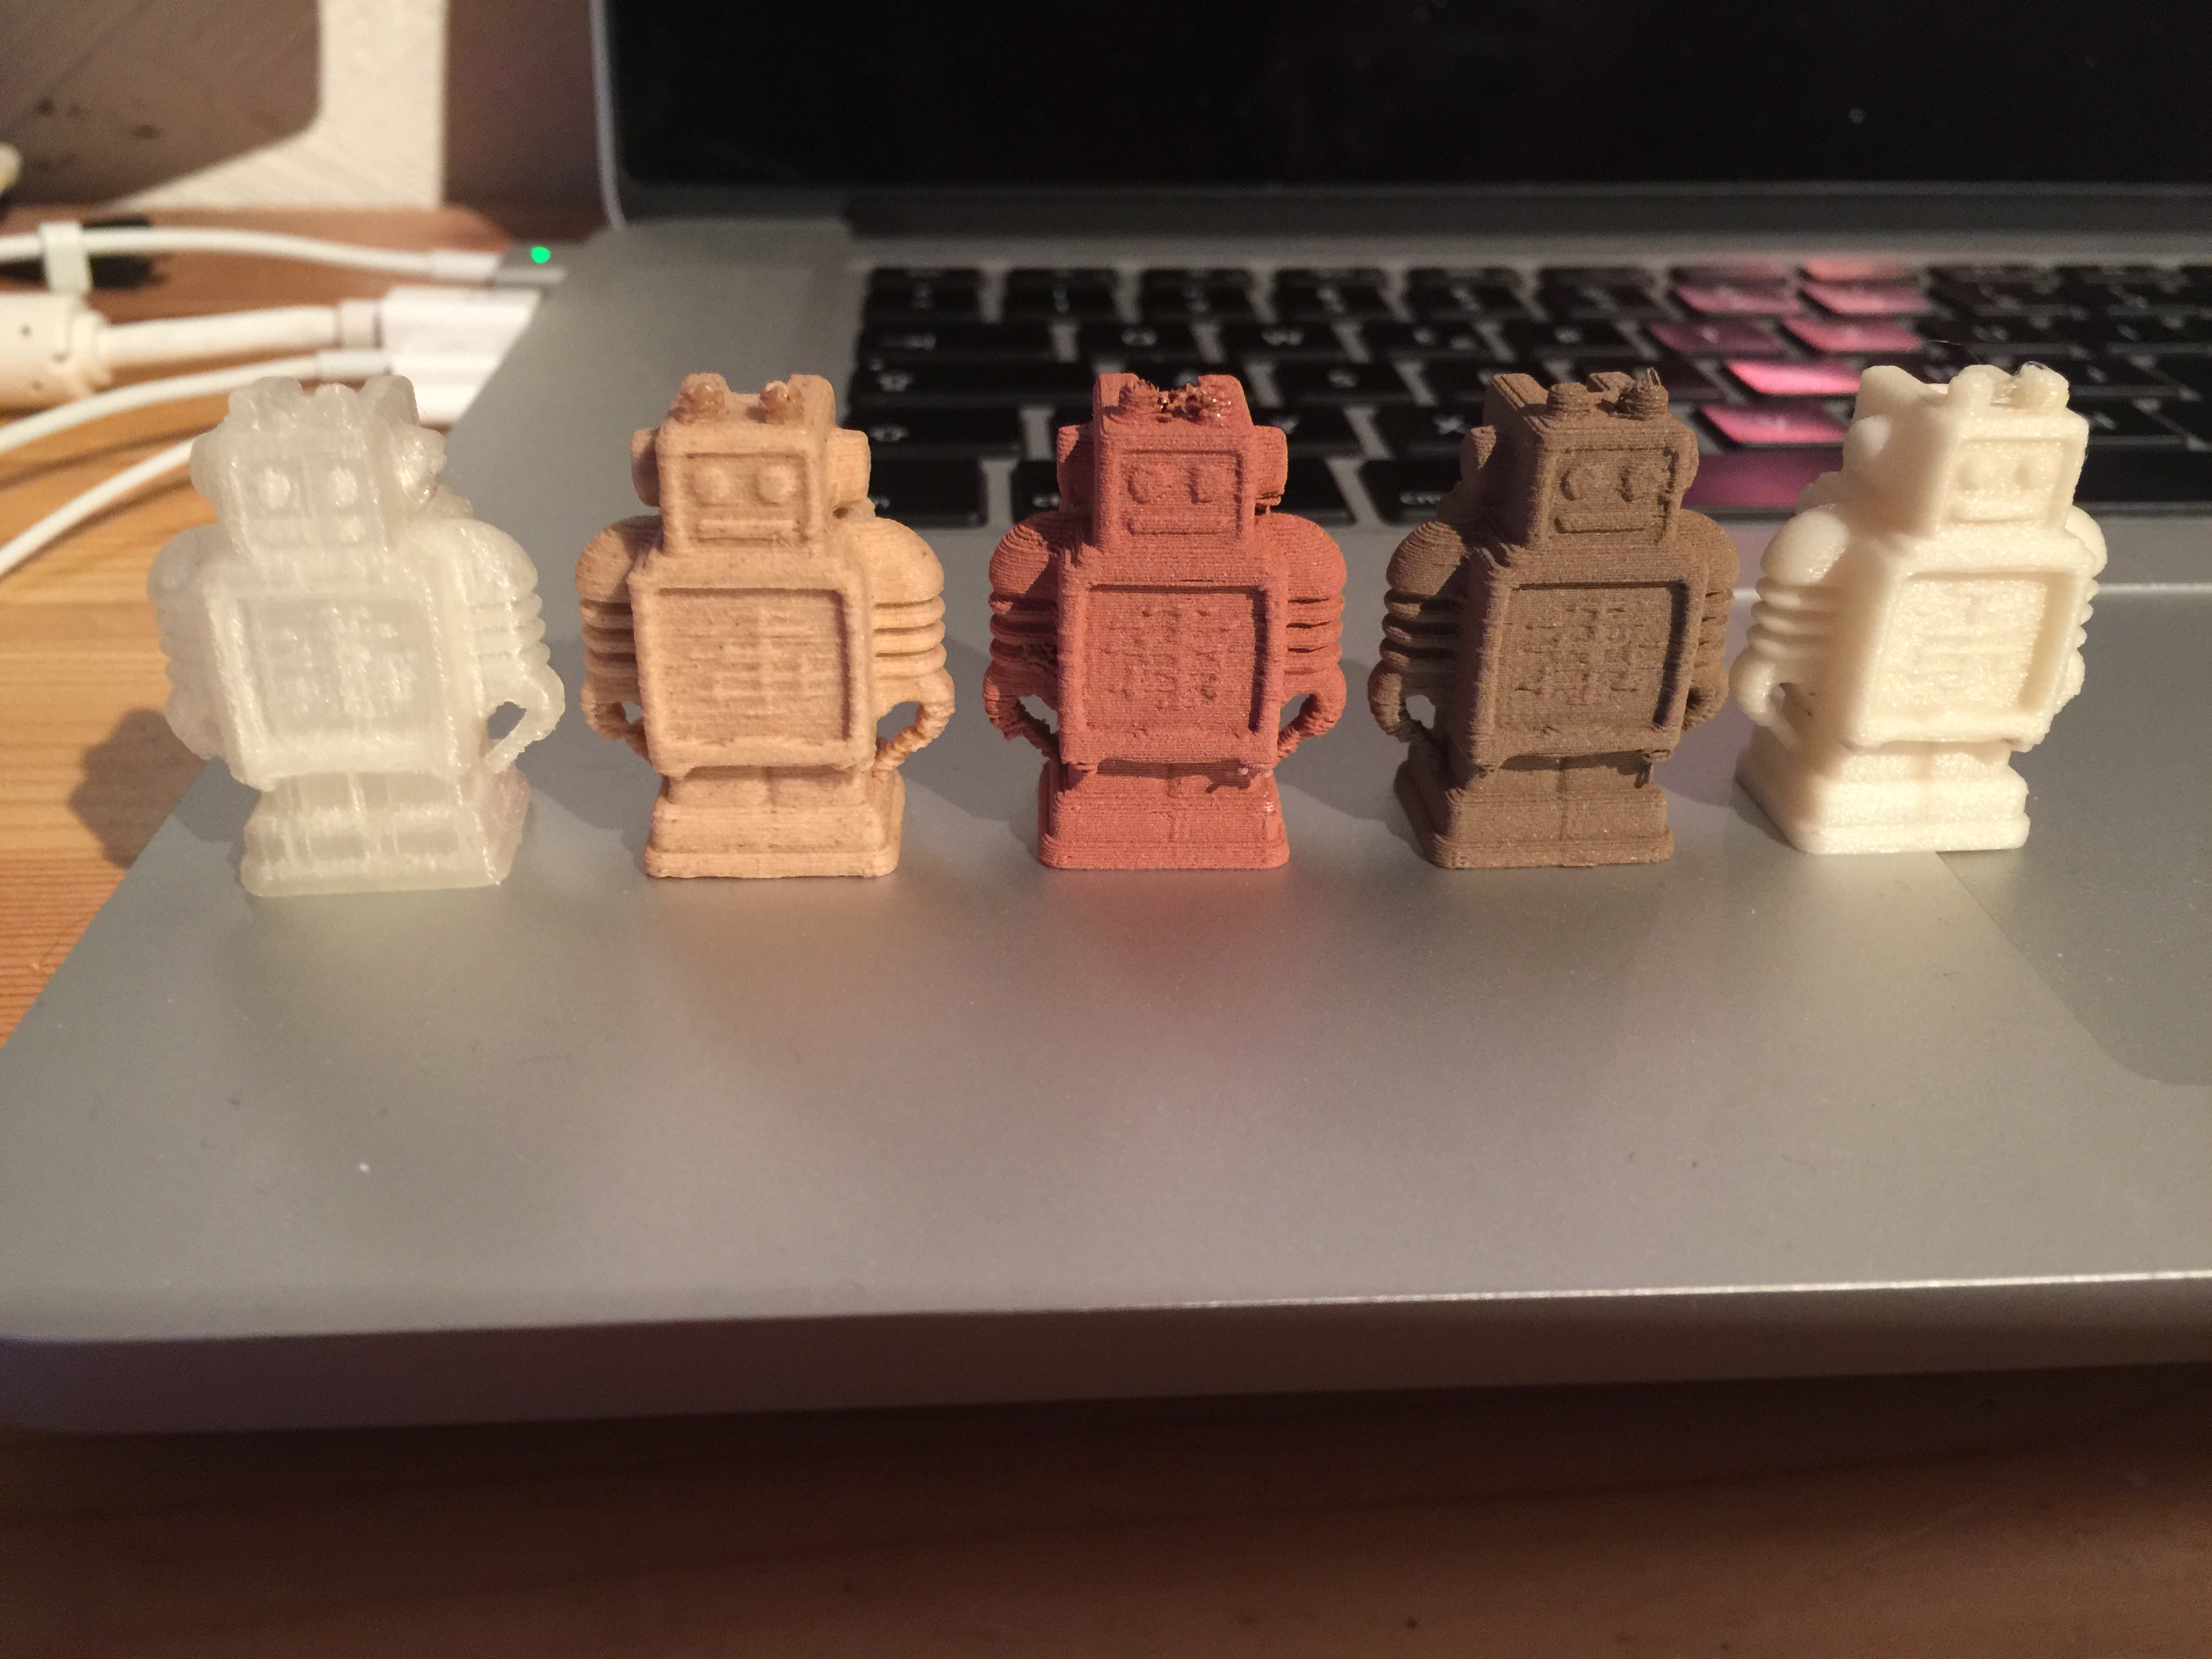
From left to right: Natural PLA, WoodFill, CopperFill, BronzeFill, GlowFill General things I’ve noticed
All of these filaments are PLA based, although how much PLA is in them depends on the filaments. So to get that out of the way, if you use these filaments, you are still technically printing with PLA. That being said, they don’t feel like PLA! The WoodFill feels like wood, the copper and bronzeFill feel like metal and have the right weight to it. It’s amazing! The idea of these is absolutely genius.
Another thing I’ve noticed that, even though they are all PLA mixes, printing with them is different from PLA and each requires different settings, both in the slicer and on the printer. Trying to print them like normal PLA generally does not work at all, luckily though, Colorfabb has pre-made profiles for Cura, so at least the slicer settings are easy to get done (I’ll link to them individually).
WoodFill
WoodFill was the trickiest to get printing properly. I had to try various things, because it’s trivially easy to get it to clog up the nozzle. Also worth noting, Colorfabb used to sell WoodFill and now sells WoodFill Fine. The difference is that the fine one works with 0.4mm nozzles like the one found in the Ultimaker 2, but also requires a heated bed (also found on the Ultimaker 2).
I ended up getting it to print reliably with a print speed of 70mm/s at 205°C with a flow rate of 105%. The trick is to keep the flow rate high, the Colorfabb guys also gave me the tip of increasing the layer height to 0.27mm to increase the flow even further. Getting it to print very fine details is almost impossible with this material, and it doesn’t like sticking to itself or the build plate. It’s a brute force kind of material, squeeze it out and press it onto the existing structure and just pray. And don’t print too slow or decrease the flow rate, because then it will clog up the nozzle. As for the build plate stickiness, glue works wonders here.
The reward for all of the hassle is a great print! Seriously, even though it lacks very fine details, it just looks good. The seams that you get when printing with such big layer heights actually add to the wooden look, and it feels just like wood. Also, while printing, the room will smell like a wood workshop. This can be a plus or negative though, depending on you.
The profile can be found here.
CopperFill
CopperFill is the easiest to handle, right after stock PLA. You load the profile into Cura, set the print temperature to 200°C and print at ~50mm/s. The CopperFill gives you much more leeway though in terms of print speed, and I haven’t got it to clog up the nozzle at all.
There actually is not much more to say, the print will have a reddish colour, and it feels like metal and has just the right weight to it. It’s a terrible conductor though, so not exactly usable to print wires with.
You really want to post process the CopperFill though, so get some sandpaper and grind it down. Or do it like me, and do it partially to then decide that this is hard work and not fun at all. But if you do, be careful of the fine details: The material is kind of soft, though it hardens out a bit after the print, but it’s still easy to sand down your details. And if the structure is thin, it’s easy to just break it off by accident.
The profile can be found here.
BronzeFill
As bronze is just a copper alloy, I figured it would print pretty much just like the CopperFill does. It does not. For starters, the temperature needs to be higher, I achieved the best results at 210°C, with the print bed heated to just 55°C. Print speed was again ~50mm/s, but just like the CopperFill, it has some leeway where it still looks good. Also noteworthy is that the BronzeFill really doesn’t like to be a string and instead likes to drip out of the nozzle, especially when changing the filament and when the printer warms up and squeezes out the first bits of filament before starting to print.
Secondly, the smell is just awful. It’s not lingering and goes away fast, but it just doesn’t smell good. Post processing is pretty much the same as the CopperFill, if you want it to shine, get some sandpaper. Or don’t, because again, it’s hard work and your details will suddenly be gone.
Edit: A thing I wanted to mention but forgot, the BronzeFill is a bitch to clean! If you change the filament, you’ll have to print quite a bit to get it all out and that’s especially noticeable on lighter coloured filaments. The profile can be found here.
GlowFill
This is just PLA. Print it like PLA. But it’s so fucking cool, so I included it anyways. And I also included a picture of just the glow fill:
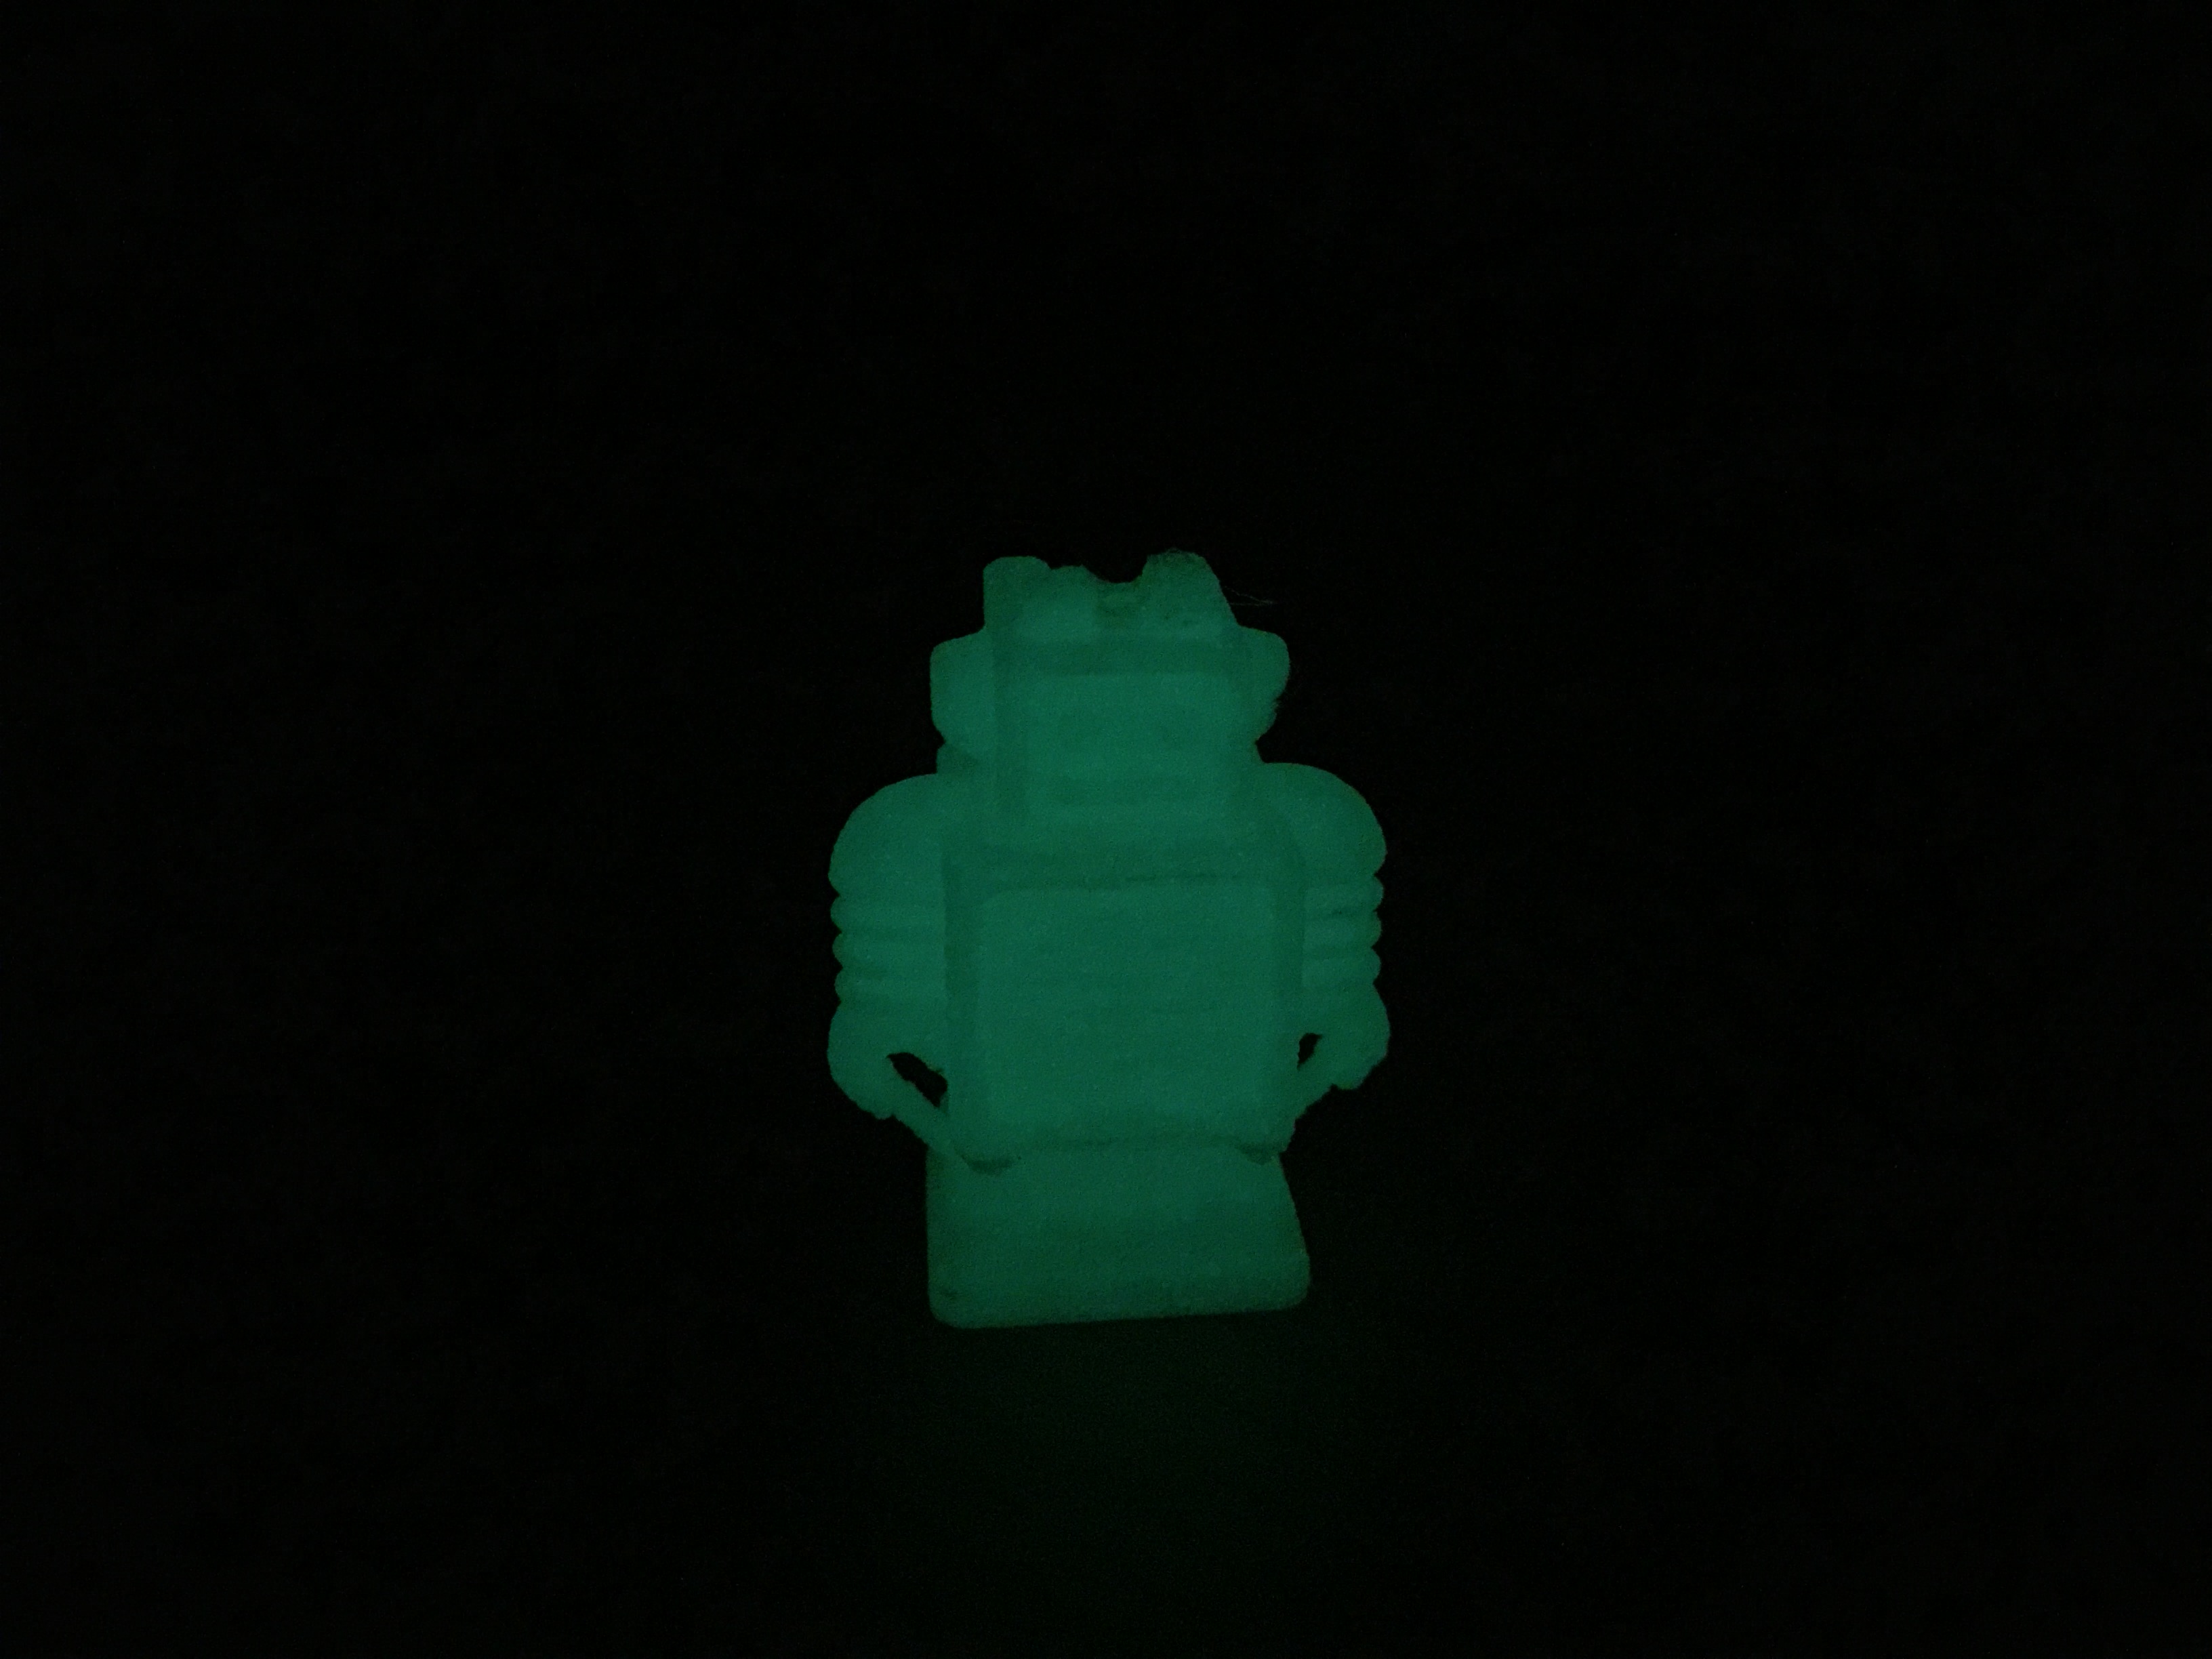
Perfect for Halloween :) Edit: Although it’s aggressive to the nozzle and wears it down quickly, so you may want to keep a spare one handy if you want to print a lot with GlowFill.